A Beginner's Guide to Drip Irrigation
Why Drip — Not Sprinklers?
In an Israeli garden, water is a precious resource. Sprinklers fling water into the air — much of it evaporates before reaching the soil, and most of the moisture lands where there are no roots. Drip irrigation, by contrast, delivers water directly to the root zone of each plant at a slow, controlled rate the soil can absorb.
The result: 30 to 50 percent less water than overhead irrigation, far fewer weeds (surface soil stays dry), and dry foliage that reduces the conditions hospitable to fungal diseases. Economically, a drip system pays for itself in water savings within one or two growing seasons.
The Basic Parts of a Drip System
Before diving into planning, it helps to know the building blocks of every home drip system:
- Main line (supply pipe): the flexible black poly tubing, 16 or 20 mm in diameter, that carries water from the tap to every corner of your garden. UV-stabilised grades lie on the surface or can be buried a few centimetres deep.
- Filter: non-negotiable. Israeli tap water carries sediment and fine sand that clog emitters fast. A 120-mesh screen filter is the minimum; clean it at the start of every season.
- Pressure regulator: household water pressure is too high for most drip emitters (which are built for 1 to 1.5 bar). An inexpensive regulator screwed onto the tap prevents blown fittings and worn-out emitters.
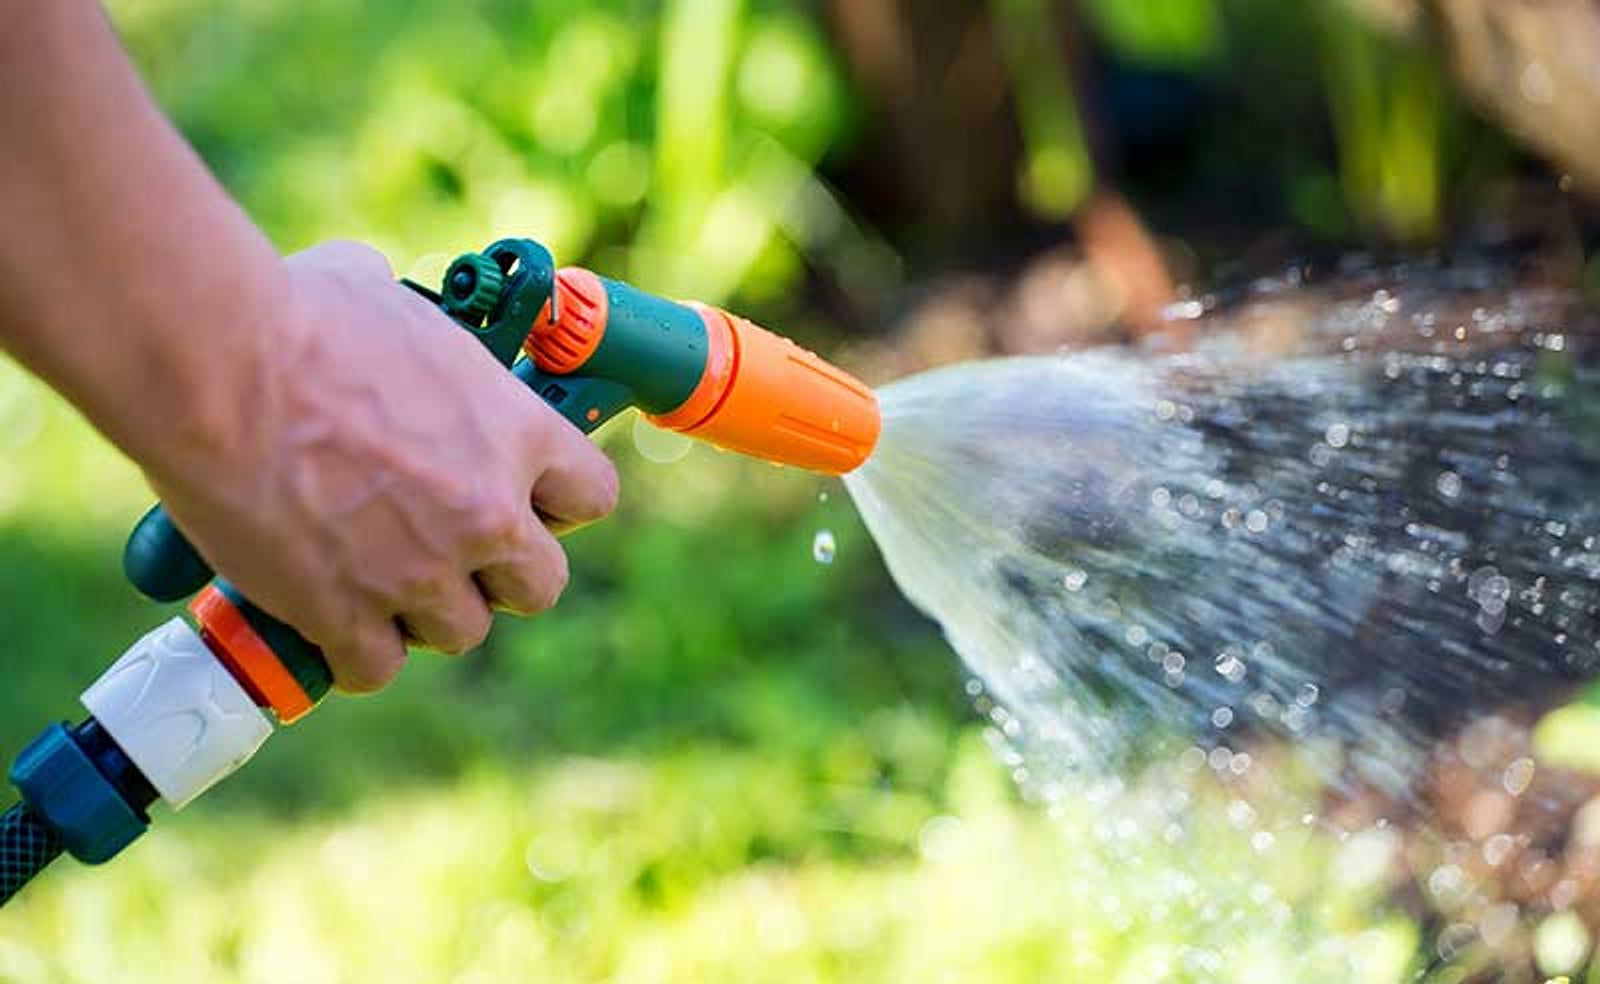
- Drip emitters: the heart of the system. Point-source emitters (0.5 to 8 litres per hour) suit pots and shrubs; inline drippers built into the tubing work well for row crops; mini-sprayers cover ground-cover plantings.
- Irrigation timer (controller): automation that keeps watering while you travel. A battery-powered timer with multiple programmes lets you schedule early-morning runs when evaporation is lowest.
Never skip the filter and pressure regulator. These are the two components most beginners leave out — and the two most responsible for new systems failing within a season.
How Much Water Does Each Plant Need? Planning Your Emitter Layout
The most common beginner mistake is placing all plants on a single line at the same flow rate. In practice, different plants have very different water needs:
- Fruiting vegetables (tomatoes, cucumbers, peppers): 4 to 6 litres per day at peak summer, split into two runs of 20 to 30 minutes each. Use 2 to 4 L/hr emitters, two per plant.
- Ornamental shrubs and mature fruit trees: deep, infrequent watering. Choose 4 to 8 L/hr emitters with long run times (40 to 60 minutes) once or twice a week — this encourages roots to reach deeper, more stable moisture.
- Herb beds and flowering annuals: 2 to 4 L/hr, three to four times a week. Mediterranean herbs (rosemary, oregano, sage) are drought-tolerant and prefer to be slightly dry rather than overwatered.
The simple rule: divide your garden into zones by similar water needs, and run a separate line for each zone. That way your timer can manage each zone independently.
Common Beginner Mistakes — and How to Avoid Them
Years of working with home gardeners have taught us that the same errors come up again and again:
- Short, frequent runs: a 5-minute cycle wets only the top 3 to 4 centimetres. Roots learn to stay shallow and suffer during dry spells. Increase run time and spread out frequency instead.
- Wrong emitter flow rate for your soil: in heavy clay, water spreads sideways slowly — a fast emitter creates a puddle on the surface. Choose 0.5 to 1 L/hr emitters for clay, 2 to 4 L/hr for sandy soils.
- Unprotected tubing in direct sun: Israel's UV breaks down standard rubber within a few seasons. Use only tubing marked UV-resistant, and if the line runs along the surface, cover it with a layer of mulch.
- Loose fittings: every joint is a potential leak. After assembly, run the system for five minutes and check every connection — dry hands are the best leak detector you have.
Seasonal Maintenance: Keeping Your System Healthy Year-Round
A neglected drip system stops working gradually — usually in a way you will not notice until a plant has already wilted. Here is a simple maintenance calendar:
- Spring (before the season starts): open the end caps and flush at full pressure for 2 to 3 minutes to clear any sand and winter debris. Clean the filter. Check each emitter by hand and replace clogged ones.
- Summer (monthly): confirm that all emitters are flowing evenly. Reduced flow from a single emitter means a partial clog — remove it and soak in water with a little white vinegar. Walk the fittings after a heat wave: thermal expansion can loosen joints.
- Late summer and autumn: a full season of irrigation re-deposits limescale inside emitters. Once a year, run a diluted citric-acid solution (1 ml per litre of water — check compatibility with your tubing) to dissolve mineral build-up.
Preparing Your System for Winter
The coastal plain and the Negev rarely freeze, but Jerusalem, the highlands, and the Jezreel Valley can drop below zero on January nights. Water trapped in tubing expands when it freezes and can split pipes and crack fittings — replacing an entire system in mid-winter is no fun.
- Close the main tap supplying the drip system.
- Open the end caps and any drain valves, and let gravity drain the water from the lines completely.
- Remove the irrigation timer (battery and mechanism) and store it indoors. Even weatherproof controllers can be damaged by repeated freeze-thaw cycles.
- If your pressure regulator has a plastic body, remove it too — cold plastic cracks easily.
In coastal areas, closing the main tap and setting the timer to off is usually enough — winter rains will take care of the garden. Restart in February or March before plants break dormancy, and your garden — and your system — will be ready for a new season.